Hiii!
I haven’t written anything in a while have I? Well, I’m writing now!
My first project for 2018 was to make myself a dressform to work historic costumes on. As workable as Dolly has been this far, I’ve felt that I need a more accurate mannequin. At first I though about following Lauren from American Duchess and buying a dressform to alter into my fit. Then one night, while browsing through pinterest, I found the duct tape method of making dressform mannequins. So, after a trip to the hardware store, I was all set to go!
Checklist:
- Duct tape, (we had 3x50m rolls)
- Broomhandle
- Pillow stuffing OR urethane foam if you want a sturdier mannequin
- T-shirt (you will destroy the shirt)
- Plastic bag or foil
- Cotton batting
- Jersey or knit fabric
- Wood glue
- A friend to help
I’m sorry I have no pictures of me getting taped up. You need a friend to help you. We found out that two layers of duct tape create a nice, strong base. Ask your helper to roll you in tightly, but not so tight that it cuts circulation. If you’re going up to the neck, go careful not to pull too tight. I confess that I had a slight moment of claustrophobia towards the end as the duct tape gives zero room to take deep breaths. I was already wearing a binder to get a boobless figure (I’m planning to make boobs out of rice, to get them squishable).
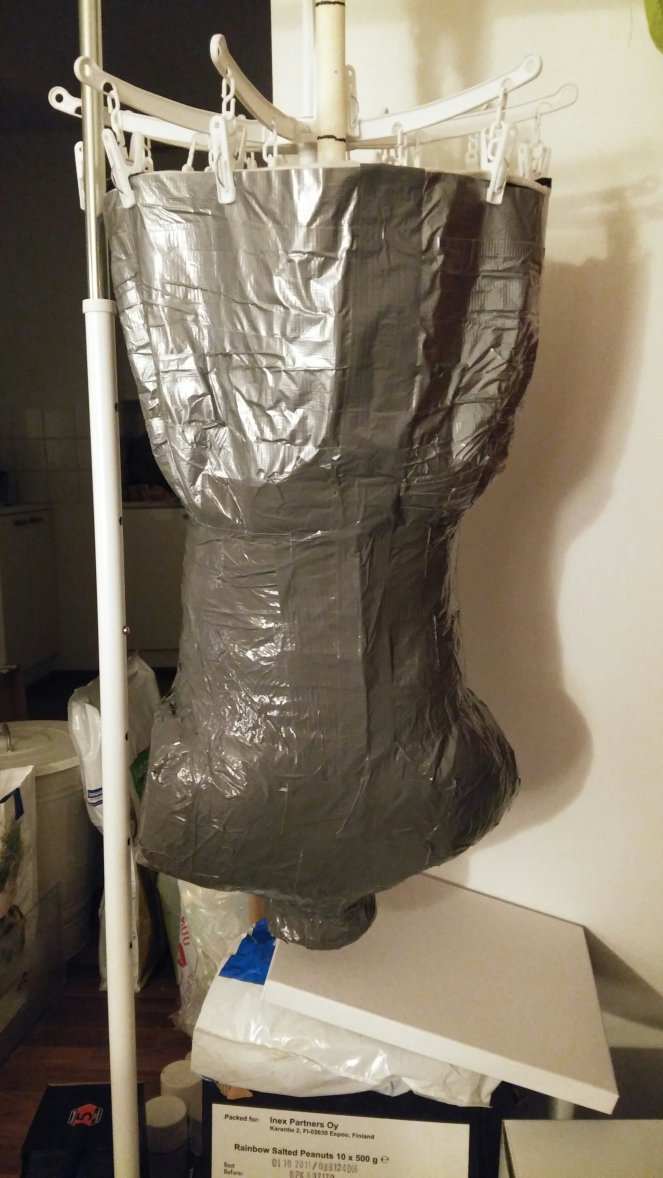
Depending on what you want to do with your mannequin (workable or display only), you can fill it either with pillow stuffing, urethane, or other materials. We went with expanding urethane foam.
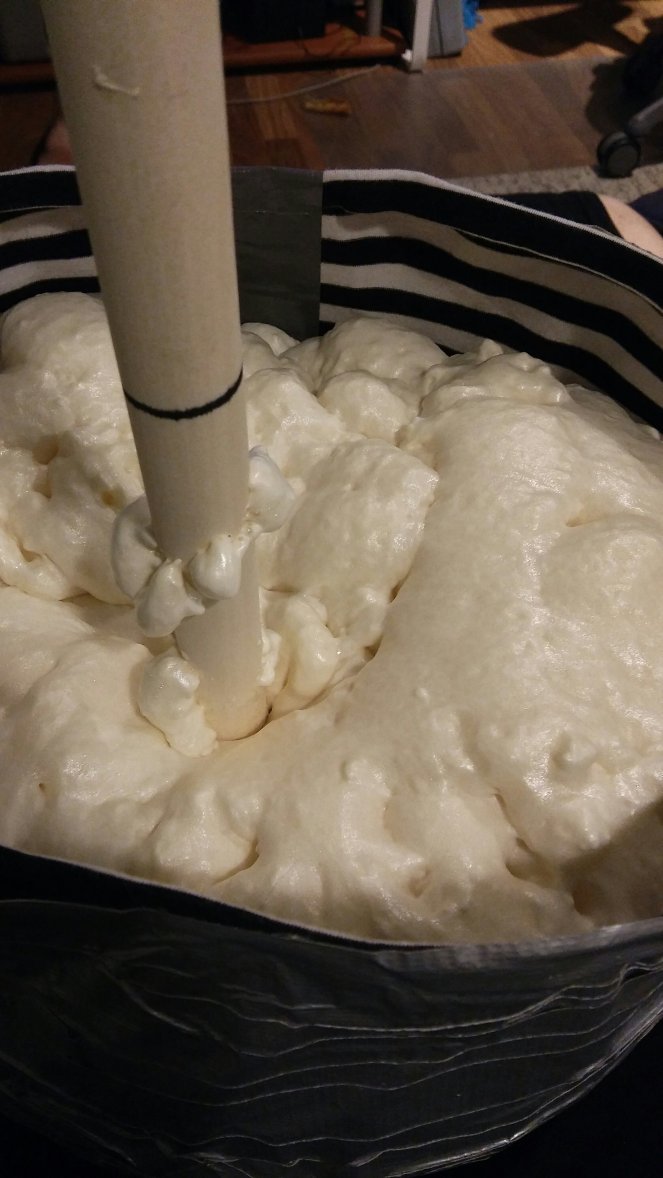


At this point, don’t be like me and forget to check the measurements if you’re planning to actually use the mannequin for dressmaking (d’oh!). What I later had to correct was that while the urethane expanded it pushed the backseam (where hubby cut me out) outwards and added over 5cm to the waist circumference. If I had been smart, I could have adjusted the doll at this point and saved myself a lot of headache.

You also want the measurements a little under your own if you’re planning on using cotton batting (easier to stick needles into the doll), as it will add a little to the circumference. I used the medium weight batting and I think it works great!

Somewhere after I was attaching the batting I came to finally figure out that MAYBE I should check the measurements. And I finally also noticed that the backseam had bulged and the curve on the back had gone straight. Whoops. SO, time to cut into the back of the doll and remove some of the urethane. It was interesting to notice that while we filled the whole of the dummy with urethane, once dry it only covered the surfaces for about 1-2cm thickness. I also had to cut a little off the chest to get a perfectly flat chest.
After this I secured the batting back into place with wood glue. I also glued the hem of the batting to the dummy as well as around the neck.

Finally, after going back and forth a few times, it was time to make the cover. I had found this pretty jersey fabric from ready-cut box at the fabric store (and it was big enough to make a shirt for me too! Wohoo!).

I cut the jersey on the dummy, and headed to the sewing machine while having my fingers crossed.

And it worked! She’s now ready to face the first project which is to make an 18th century costume, starting from the shift.
Oh, and the name? Since the thought was hatched on the American Duchess blog with Lauren making her FrankenLilly, I named her FrankenDolly after that project and my own red Dolly.
